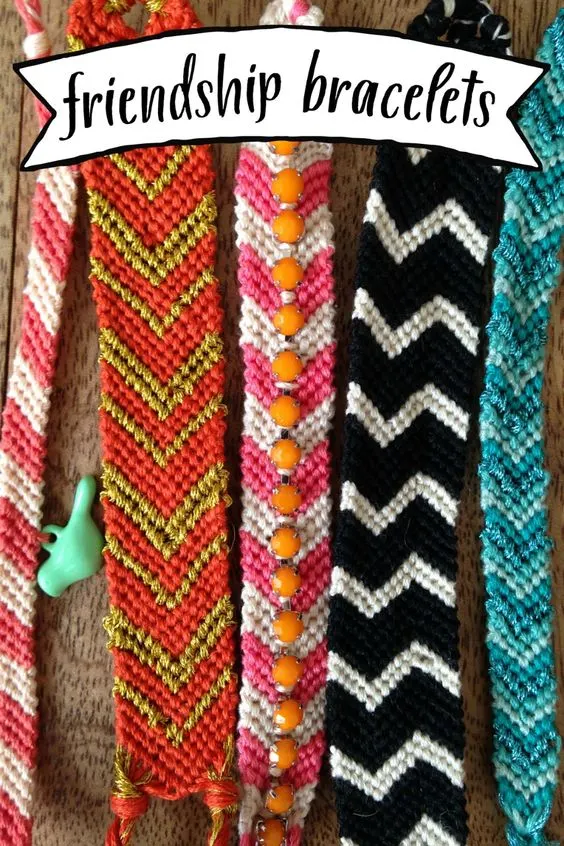
Use simple patterns, metallic threads, bright colors, and fun accessories to create gorgeous friendship bracelets for adults.
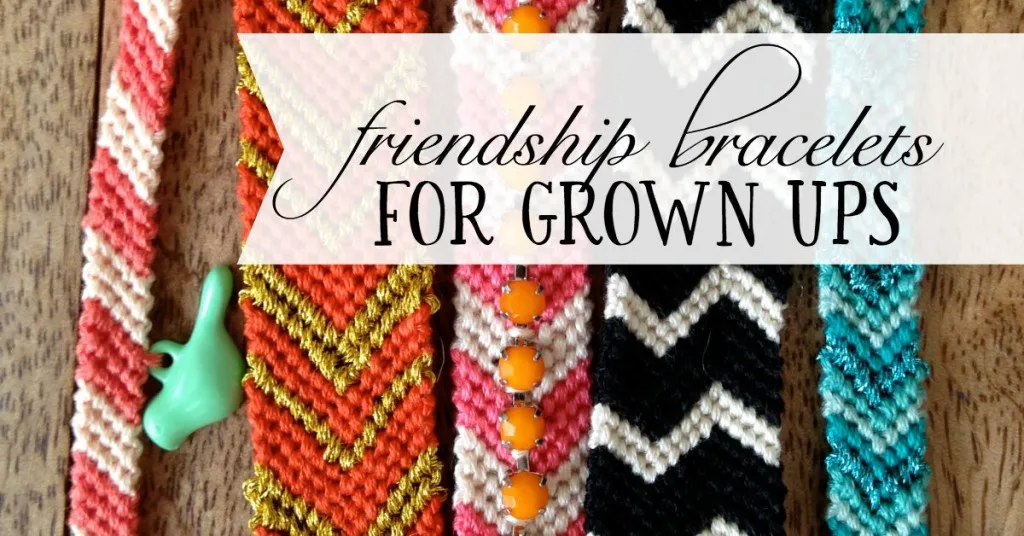
I have such fond memories of making friendship bracelets as a kid. After picking out just the right colors, I'd spend hours knotting and knotting until my fingers were numb and raw.
Part of the reason I loved it so much was the creative element — choosing my own patterns and color combinations, and seeing my visions come to life. Another reason was the joy of creating something for someone else.
When I noticed yarn bracelets coming back into style a few years ago, nostalgia kicked in. At first I thought, "This could be something fun to do with my girls." Then I thought, "Forget the kids...I want to make these myself!"
I decided to make the bracelets more "adult" by:
- adding a tassel
- adorning them with some rhinestone embellishments and charms, and
- attaching metal closures for an easier on and off
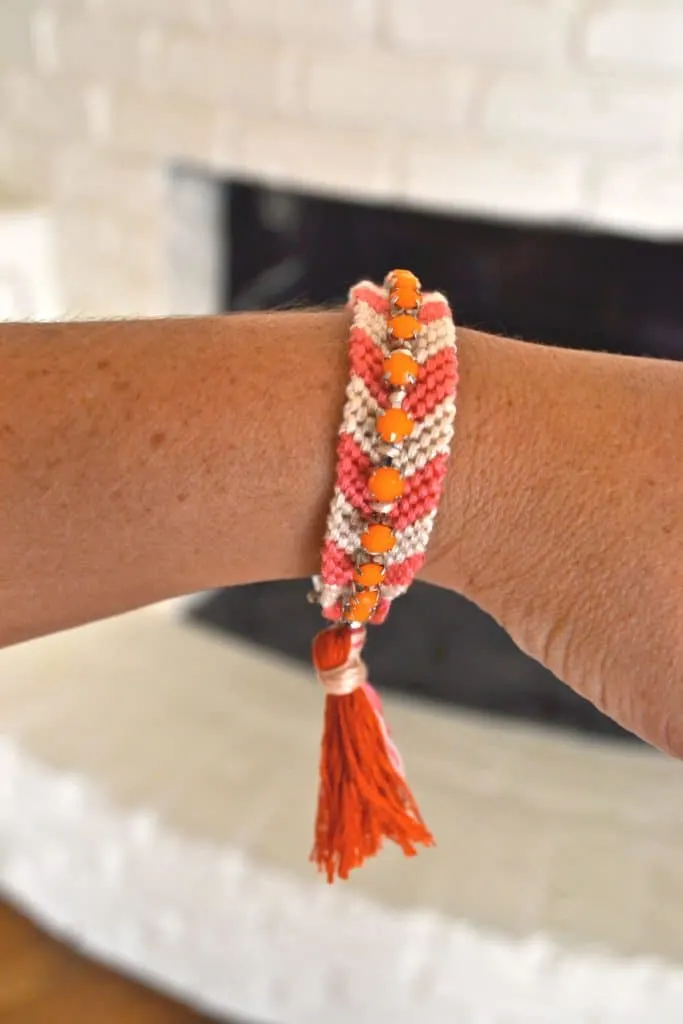
There's no limit to the things you can do to make these bracelets your own.
How to Make Friendship Bracelets for Adults:
Materials Needed:
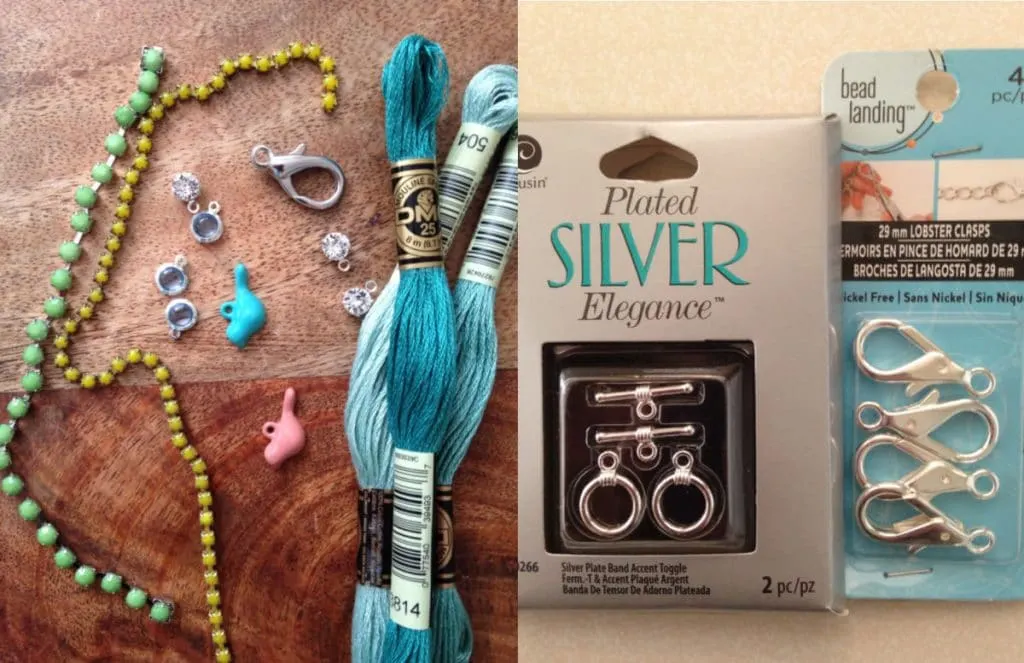
- Embroidery floss in colors of your choice
- Ring clasp (from toggle clasp set) and lobster clasp
- Needle (eye should be large enough to fit one piece of embroidery floss
- Scissors
- Charms or rhinestone embellishments (optional...see end of tutorial for more info)
Step 1:
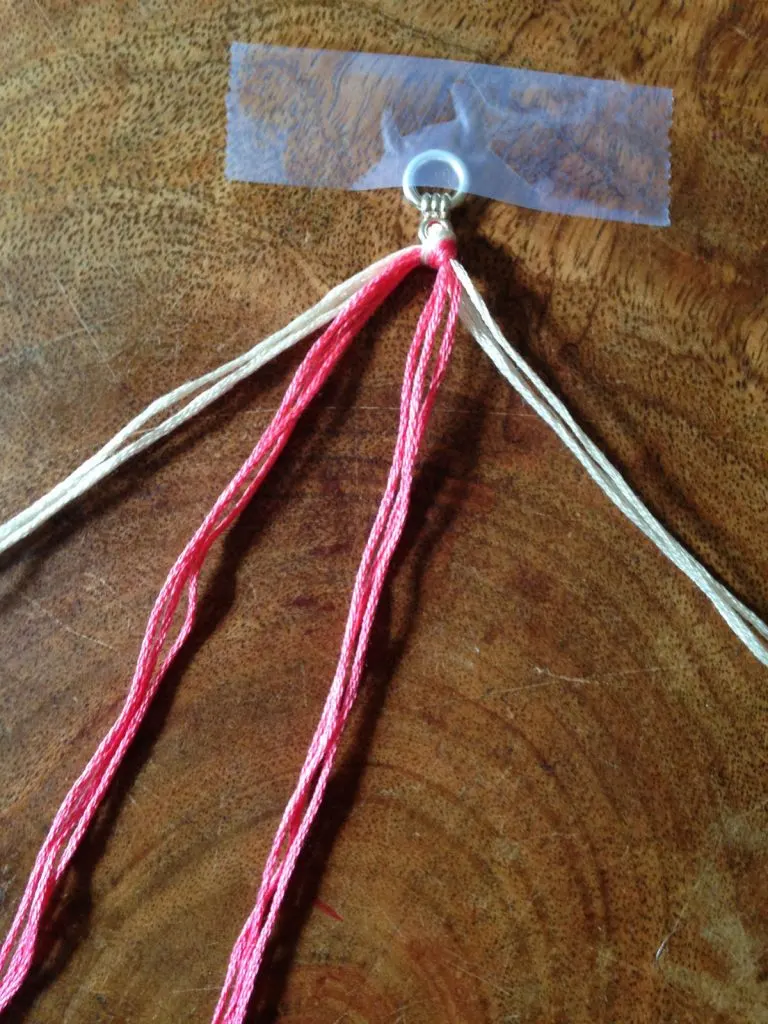
Cut 6 strands of floss (3 of each color) into 70-inch pieces. Thread all of the strands through the small hole in the circular end of the round clasp. Tie a knot to secure the clasp directly in the center of the strands. Tape the metal circle to your working surface, and divide the floss on either side so that each side mirrors one another.
Step 2:
If you don't know how to tie the knots for a chevron friendship bracelet, check out this tutorial, or google "chevron friendship bracelets" to find a good video or demo.
Begin knotting according to the instructions for the chevron bracelet.**Don't forget to tie each knot twice. I forgot when I started, and as you can see in the photo below, the knots in the first four sections are too thin. Oops.
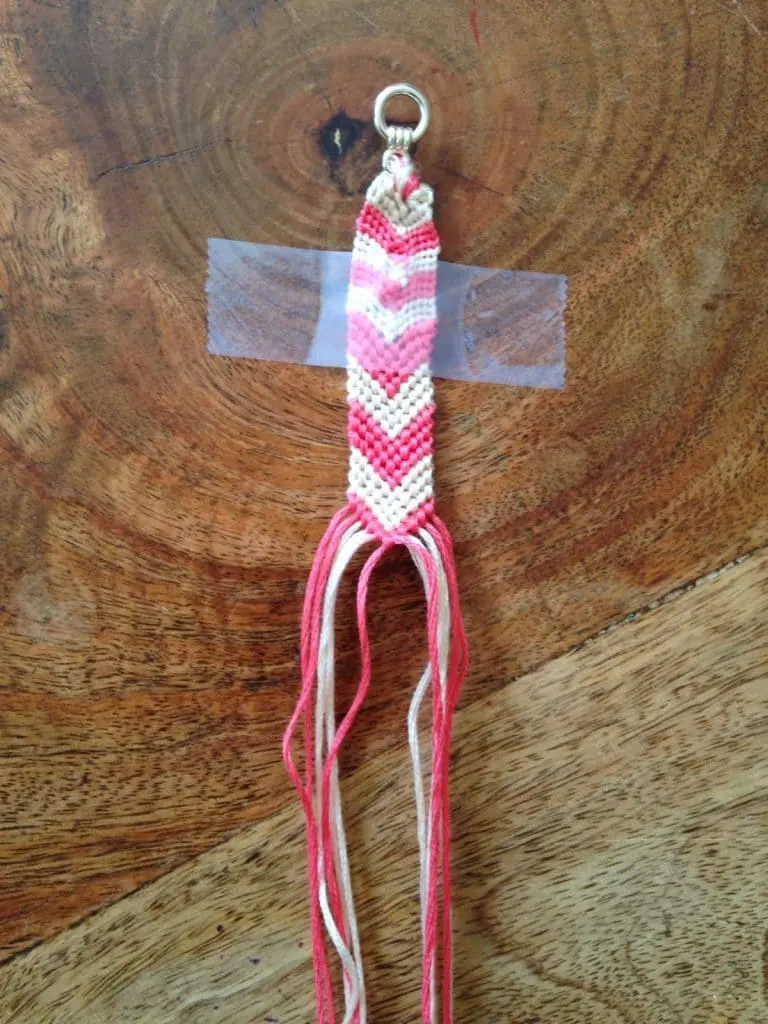
Step 3:
Keep knotting until the bracelet is the right length for your wrist. To make it easier, measure your wrist and cut a string the same length as your wrist to use as a guide. Don't forget to factor in the length of the clasps!
Step 4:
When the bracelet is at the perfect length, slide the lobster clasp onto the end. Before we secure the lobster clasp, we're going to add some extra floss to make a tassel. This isn't necessary, but it adds a little pizazz and also helps conceal the knot and loose strands you'd otherwise be left with.
Step 5:
To make the tassel, cut about 12 strands of floss into 6" pieces. These extra strands can be the same colors you used for your bracelet or a different color. In this tutorial I used orange.
Lay the tassel strands horizontally across the bracelet strands, just beneath the lobster clasp as shown.
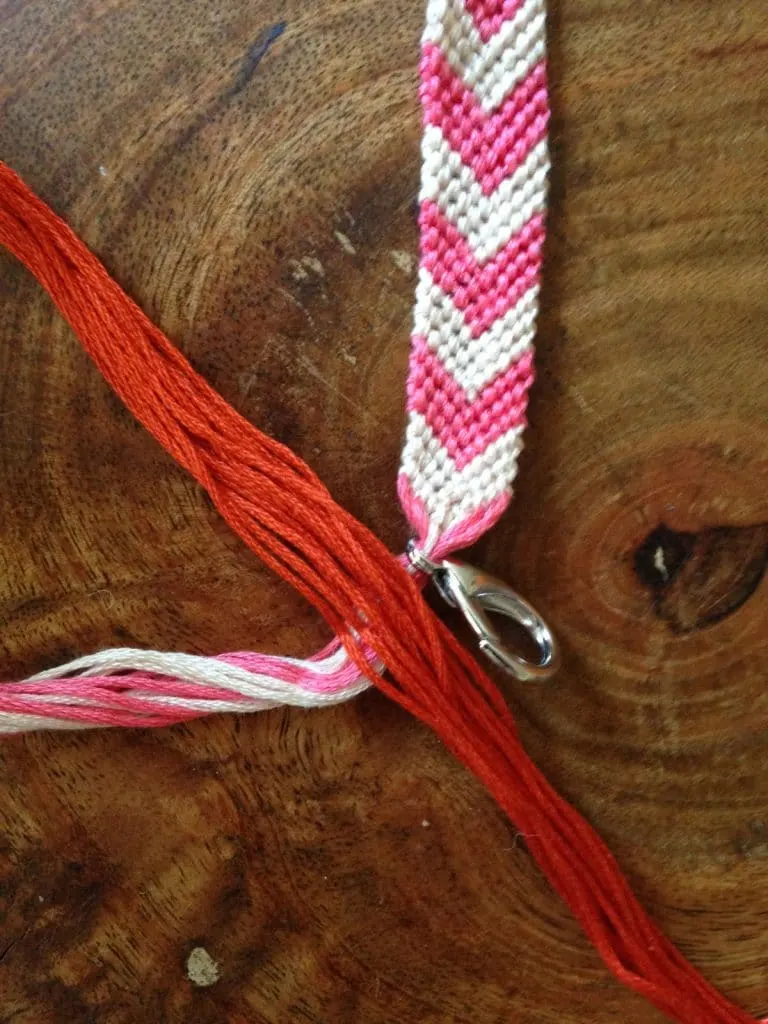
Step 6:
Gather all of the bracelet strands (the white and pink ones in this example) and tie them together in a knot at the base of the lobster clasp, securing the tassel strands inside the knot.
Step 7:
Taking another piece of embroidery floss, tie a knot at the base of the big knot (see below). I slid on a little rhinestone charm before I tied the knot, but this is totally optional.

Step 8:
After you've tied the knot, wrap the piece of floss around the base of the big knot tightly several times. Thread one of the ends of the floss through the needle and draw it back through the wrapped strands and through the center of the knot to secure it. Trim the end so it's invisible. Repeat with the other loose end.
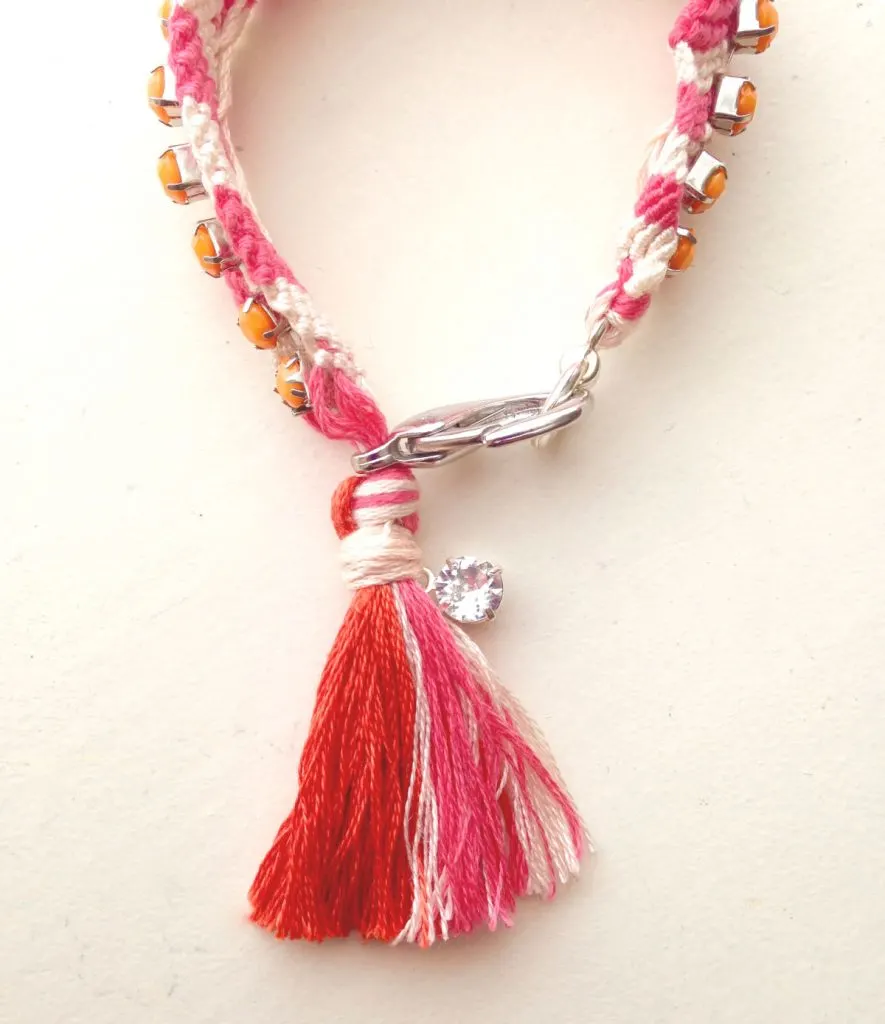
Step 9:
Trim the tassel to your desired length, making sure the ends are even. Use your fingers to separate the strands to make the tassel look fuller.
If you don't want to add any additional embellishments, you're all done! If you would like to add some colored rhinestones to the front of the bracelet, continue reading below.
How to Add Rhinestones to a Friendship Bracelet:
To add rhinestones, look for a "rhinestone chain" at either your local craft store or jewelry making store. You can usually find them in opaque colors or clear.
Cut the rhinestone chain to the length of your bracelet. Thread a piece of embroidery floss that matches or complements your bracelet onto the needle. Tie a knot at the end of the thread so that it will be secure when you start sewing.
Starting at the underside of the bracelet, begin sewing the rhinestone chain onto the center of the bracelet by sewing the thread in between the rhinestones. If you want to go over each section more than once to completely conceal the metal, you can, but once is enough to secure it to the bracelet.
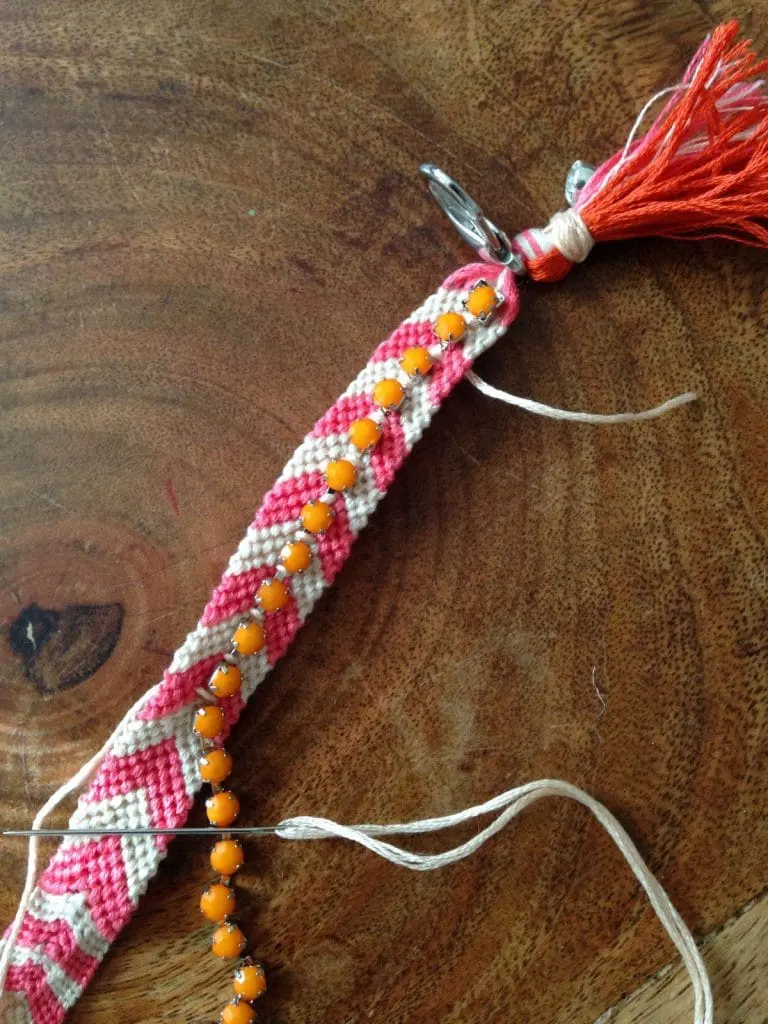
After you've finished sewing on the rhinestones, turn the bracelet over and thread the floss through the loops in the back. Tie it in a knot to secure it, and trim the ends.
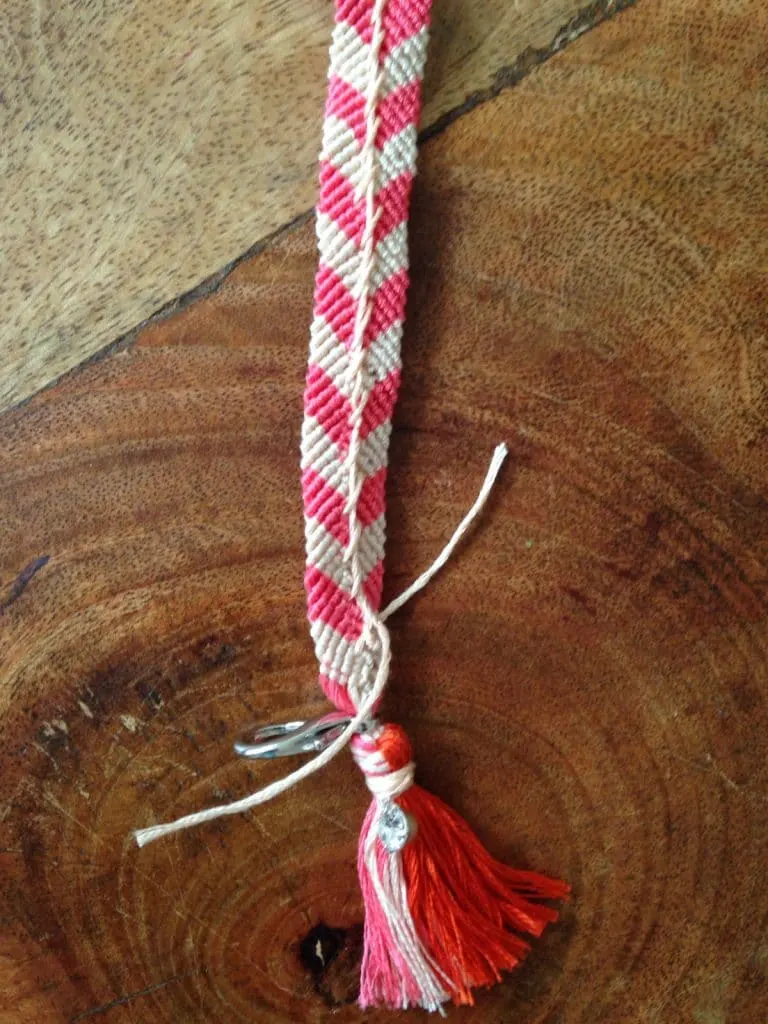
Voila!!! You're finished!
how to Add a charm to a friendship bracelet:
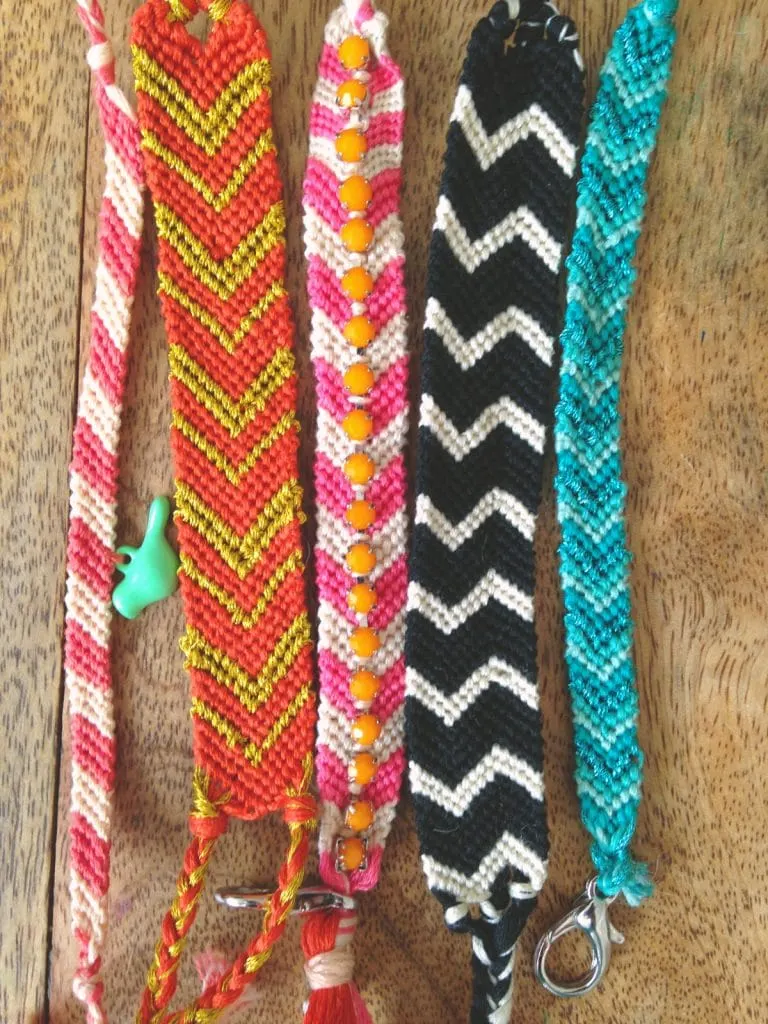
If you'd like to add a charm, like the little bird in the photo below, calculate where the middle of the bracelet will be. When you've knotted to that point, simply slide the charm onto the thread at the far right before and continue knotting as before.
These bracelets are fun to make, and fun to wear. Wear them alone, or pair them with other string or metal bracelets. Share them with a friend, or keep them for yourself. Blast some 80's music in the background and take a fun trip down memory lane, while making pretty jewelry in the process.

Nina
Sunday 21st of January 2024
Very nice. And I am proud of the author, who said “forget the kids”. Great Job saying that. Kids don’t even know how to tie friendship bracelets. So yes, forget the kids!
Shug
Wednesday 23rd of March 2022
This was a great tutorial. I grew up doing a million trillion friendship bracelets and needed a little push in some ideas on how to make some new adult themed ones. I am not trying to tell you your business you did a great job, but I was thinking It would also be a good idea to sew a piece of scrap fabric to the back so that the knots will not rub against your wrist. And it could add a new level of flare to each bracelet. Thank you so much for taking the time to create this! On to the crafting!
Talia
Sunday 20th of December 2020
I noticed that in the picture there are different designs. I know how to do the v design, but I was wondering how to do the zig zag and one line ones. Also, how can you make the bracelets wider? Every time I make them they're always small and the same size. Thanks!
Tori
Tuesday 1st of June 2021
The more strings you add the wider they will be, like if you have 10 strings it will wider than a bracelet with 5 or even 7. I love adding a bunch of colors to mine :)
Jasmine
Saturday 2nd of March 2019
Thank you so much for making the time to post this. I found it very helpful and handy.
Jeremy
Friday 2nd of February 2018
Beautiful craft work and some interesting twists I had not thought of! Thank you for sharing!